
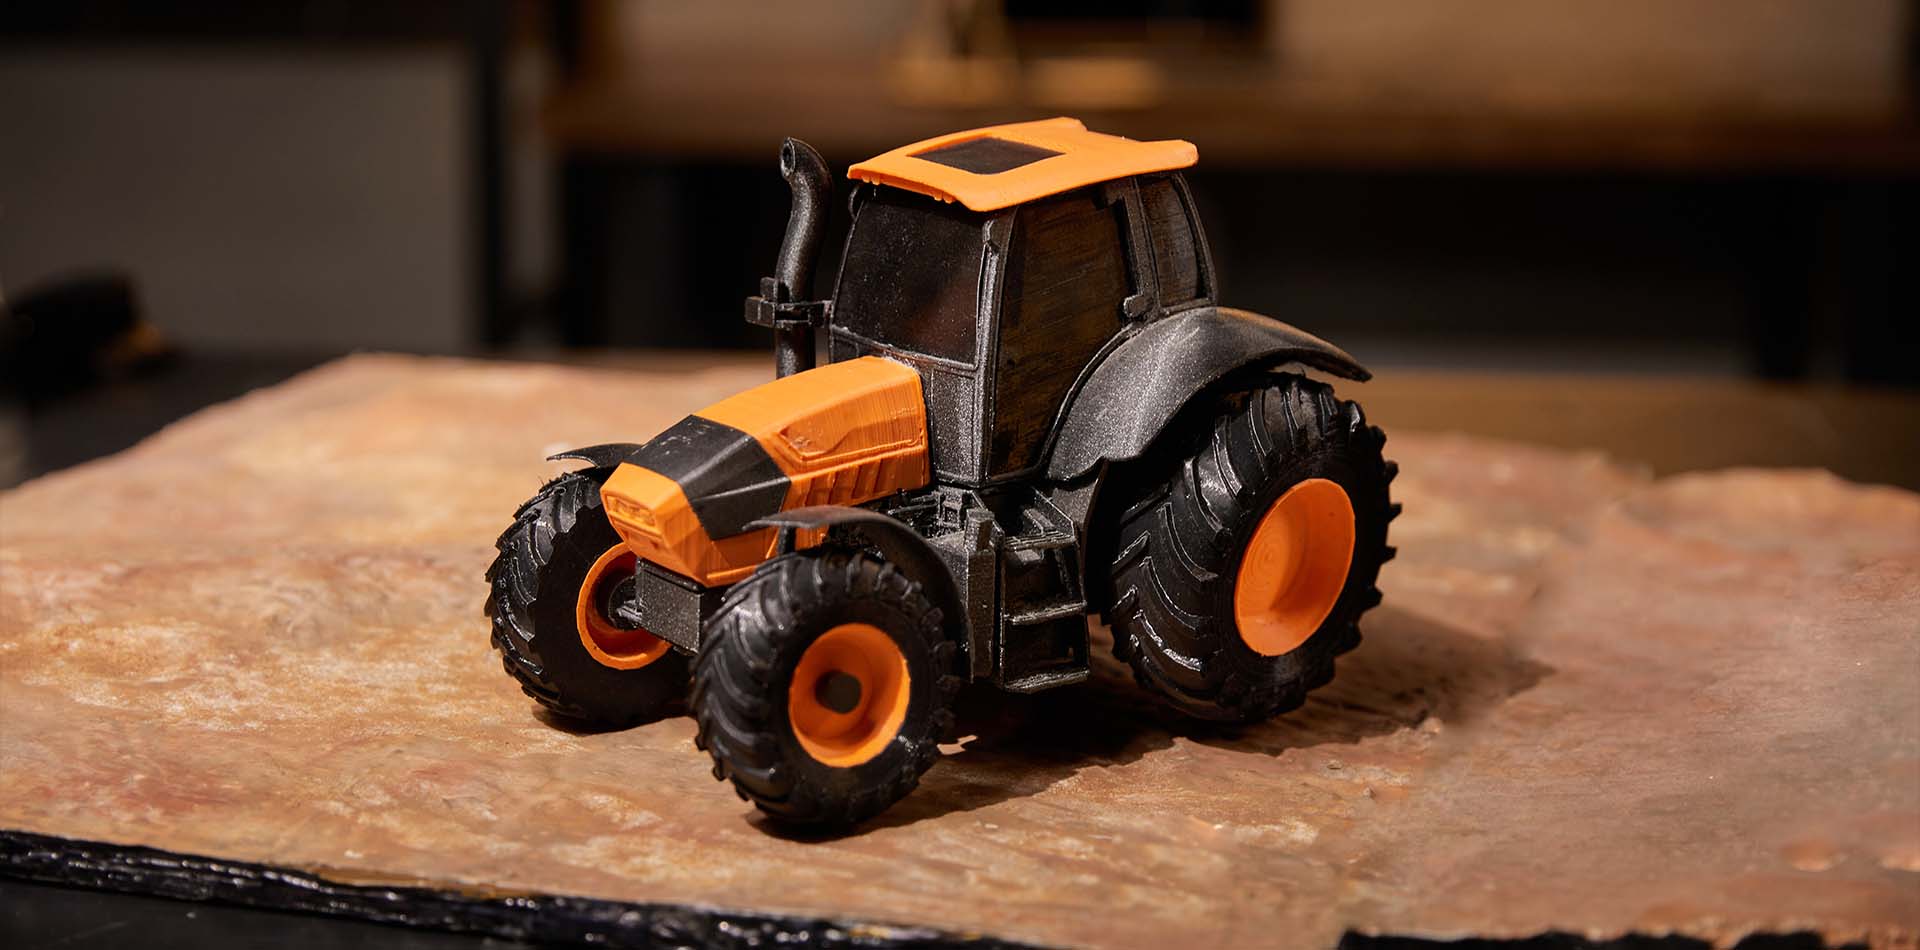
Flexible filaments, such as TPU (thermoplastic polyurethane) and TPE (thermoplastic elastomer), enable 3D printing of soft, rubber-like components ideal for gaskets, phone cases, or wearable accessories. However, their elasticity poses challenges like stringing and warping, especially on entry-level printers. This guide provides practical techniques to print flexible 3D printer filament successfully, ensuring durable, high-quality parts without distortion in home workshops.
Understanding Flexible Filaments
Flexible filaments are designed to bend and stretch while maintaining durability. Key types include:
- TPU: Offers high elasticity and abrasion resistance, perfect for soft grips or seals. Shore hardness (e.g., 85A–95A) indicates flexibility; lower numbers are softer.
- TPE: Similar to TPU but often softer, used for applications like shoe insoles. It’s more prone to stringing due to its lower viscosity.
- Nylon Variants: Some nylon blends provide moderate flexibility for semi-rigid parts like hinges.
These materials require specific printer capabilities and settings to handle their stretchy nature. Direct-drive extruders are ideal, as bowden systems can struggle with filament feeding.
Choosing the Right Flexible Filament
Match the 3D printer filament to your project’s needs:
- Hardness: Select a Shore hardness based on application. For example, 85A TPU suits soft grips, while 95A is better for stiffer seals.
- Printer Compatibility: Ensure your printer’s extruder can handle flexible materials. Direct-drive systems feed filament more reliably than bowden setups.
- Environmental Use: Consider exposure to chemicals, UV, or moisture. TPU resists oils and abrasion better than TPE, which may degrade outdoors.
For beginners, start with a mid-range TPU (90A) for its balance of flexibility and printability on standard printers.
Optimizing Print Settings
Flexible filaments demand precise settings to prevent issues like stringing, poor layer adhesion, or jamming. Key adjustments include:
- Nozzle Temperature: Use the filament’s recommended range, typically 220–240°C for TPU. Too high causes stringing; too low leads to weak bonding.
- Bed Temperature: Set to 50–60°C for good adhesion. Apply glue stick or painter’s tape on a PEI or glass bed to prevent lifting.
- Print Speed: Slow speeds (20–30 mm/s) ensure consistent extrusion and reduce stretching in the filament path. Avoid sudden movements.
- Retraction: Minimize retraction (0.5–1 mm) to prevent jams, especially in bowden setups. Increase retraction speed (20–30 mm/s) to reduce stringing.
- Flow Rate: Reduce flow to 90–95% to account for filament elasticity, preventing over-extrusion and blobbing.
- Cooling: Use moderate cooling (30–50% fan speed) to solidify layers without making them brittle. Avoid excessive cooling, which can weaken adhesion.
Print a small test model, like a 20 mm cube, to fine-tune settings before larger projects.
Design Tips to Prevent Warping
Warping occurs when flexible filaments cool unevenly or adhere poorly. Optimize your design with these strategies:
- Bed Adhesion Aids: Add a brim (5–10 mm) or raft to increase bed contact and reduce lifting. Thin first layers (0.2 mm) improve adhesion.
- Layer Height: Use 0.1–0.2 mm for better layer bonding and smoother surfaces. Thicker layers can cause inconsistent extrusion.
- Infill and Walls: Use 20–30% infill with flexible patterns like gyroid to maintain elasticity. Increase wall thickness (1.2–2 mm) for durability.
- Orientation: Orient parts to minimize overhangs, as flexible filaments sag during printing. Avoid complex geometries unless supports are unavoidable.
Test designs with small prototypes to identify warping risks before printing full-scale models.
Printer Modifications for Better Results
Entry-level printers may need tweaks to handle flexible filaments:
- Extruder Tension: Loosen the extruder’s tension spring to prevent filament compression, which can cause jams.
- Filament Path: Ensure a smooth, constrained path from spool to nozzle. Use a filament guide or tube to reduce kinking.
- Direct-Drive Upgrade: If using a bowden setup, consider upgrading to a direct-drive extruder for better control, though this isn’t mandatory for mid-range TPU.
Clean the nozzle before printing to remove residue, as flexible filaments are sensitive to clogs.
Post-Processing for Enhanced Quality
Post-processing improves aesthetics and functionality:
- Stringing Cleanup: Trim strings with a hobby knife or heat gun for a clean finish. Be cautious to avoid deforming soft parts.
- Smoothing: Lightly sand surfaces (600–800 grit) to remove layer lines, especially for wearable parts.
- Annealing: For TPU, heat at 70–80°C for 20 minutes to reduce internal stresses, but test for warping risks.
Test post-processed parts for flexibility to ensure treatments don’t compromise elasticity.
Practical Tips for Home Workshops
- Filament Storage: Store in airtight containers with desiccants, as flexible filaments absorb moisture, leading to bubbles or weak prints.
- Calibration: Regularly check extruder calibration to ensure consistent filament flow. Under-extrusion is common with flexible materials.
- Start Small: Practice with simple designs, like phone case corners, to master settings before complex projects.
- Safety: Print in a well-ventilated area, as some flexible filaments emit mild fumes at high temperatures.
Conclusion
Mastering flexible filaments opens up creative possibilities for soft, durable 3D-printed parts. By selecting the right material, optimizing print settings, designing to minimize warping, and applying post-processing, home workshop enthusiasts can achieve professional results on standard printers. Experiment with small prints, refine your approach, and unlock the potential of flexible filaments for your next project.